Unleash Flavor: Why Homemade Hamburger Dill Pickles Reign Supreme
There's an undeniable magic to a perfectly constructed hamburger: the juicy patty, the soft bun, the crisp lettuce, and that essential, tangy crunch. For many, that crunch comes courtesy of homemade hamburger dill pickles. While store shelves are stocked with countless options, making your own at home offers a level of freshness, flavor, and satisfying crispness that mass-produced varieties simply can't match. Imagine biting into a pickle that's vibrant with fresh dill, garlic, and a perfectly balanced tang – a far cry from often limp, overly salty, or artificially flavored alternatives.
The journey to crafting your own crispy hamburger dill pickles is surprisingly straightforward. It allows you to take control of every ingredient, customize the spice profile to your exact liking, and ensure that every slice delivers that coveted snap. Beyond the superior taste, there's a unique satisfaction in preserving fresh produce and knowing exactly what's going into your food. This comprehensive guide will walk you through every critical step, transforming simple cucumbers into a burger's best friend.
The Quest for the Perfect Cucumber: Selecting Your Star Ingredient
The foundation of an exceptional pickle isn't just the brine; it begins with the cucumber itself. Not all cucumbers are created equal when it comes to pickling. The wrong choice can lead to a soft, disappointing result, while the right one guarantees that satisfying crunch.
Why Pickling Cucumbers Reign Supreme
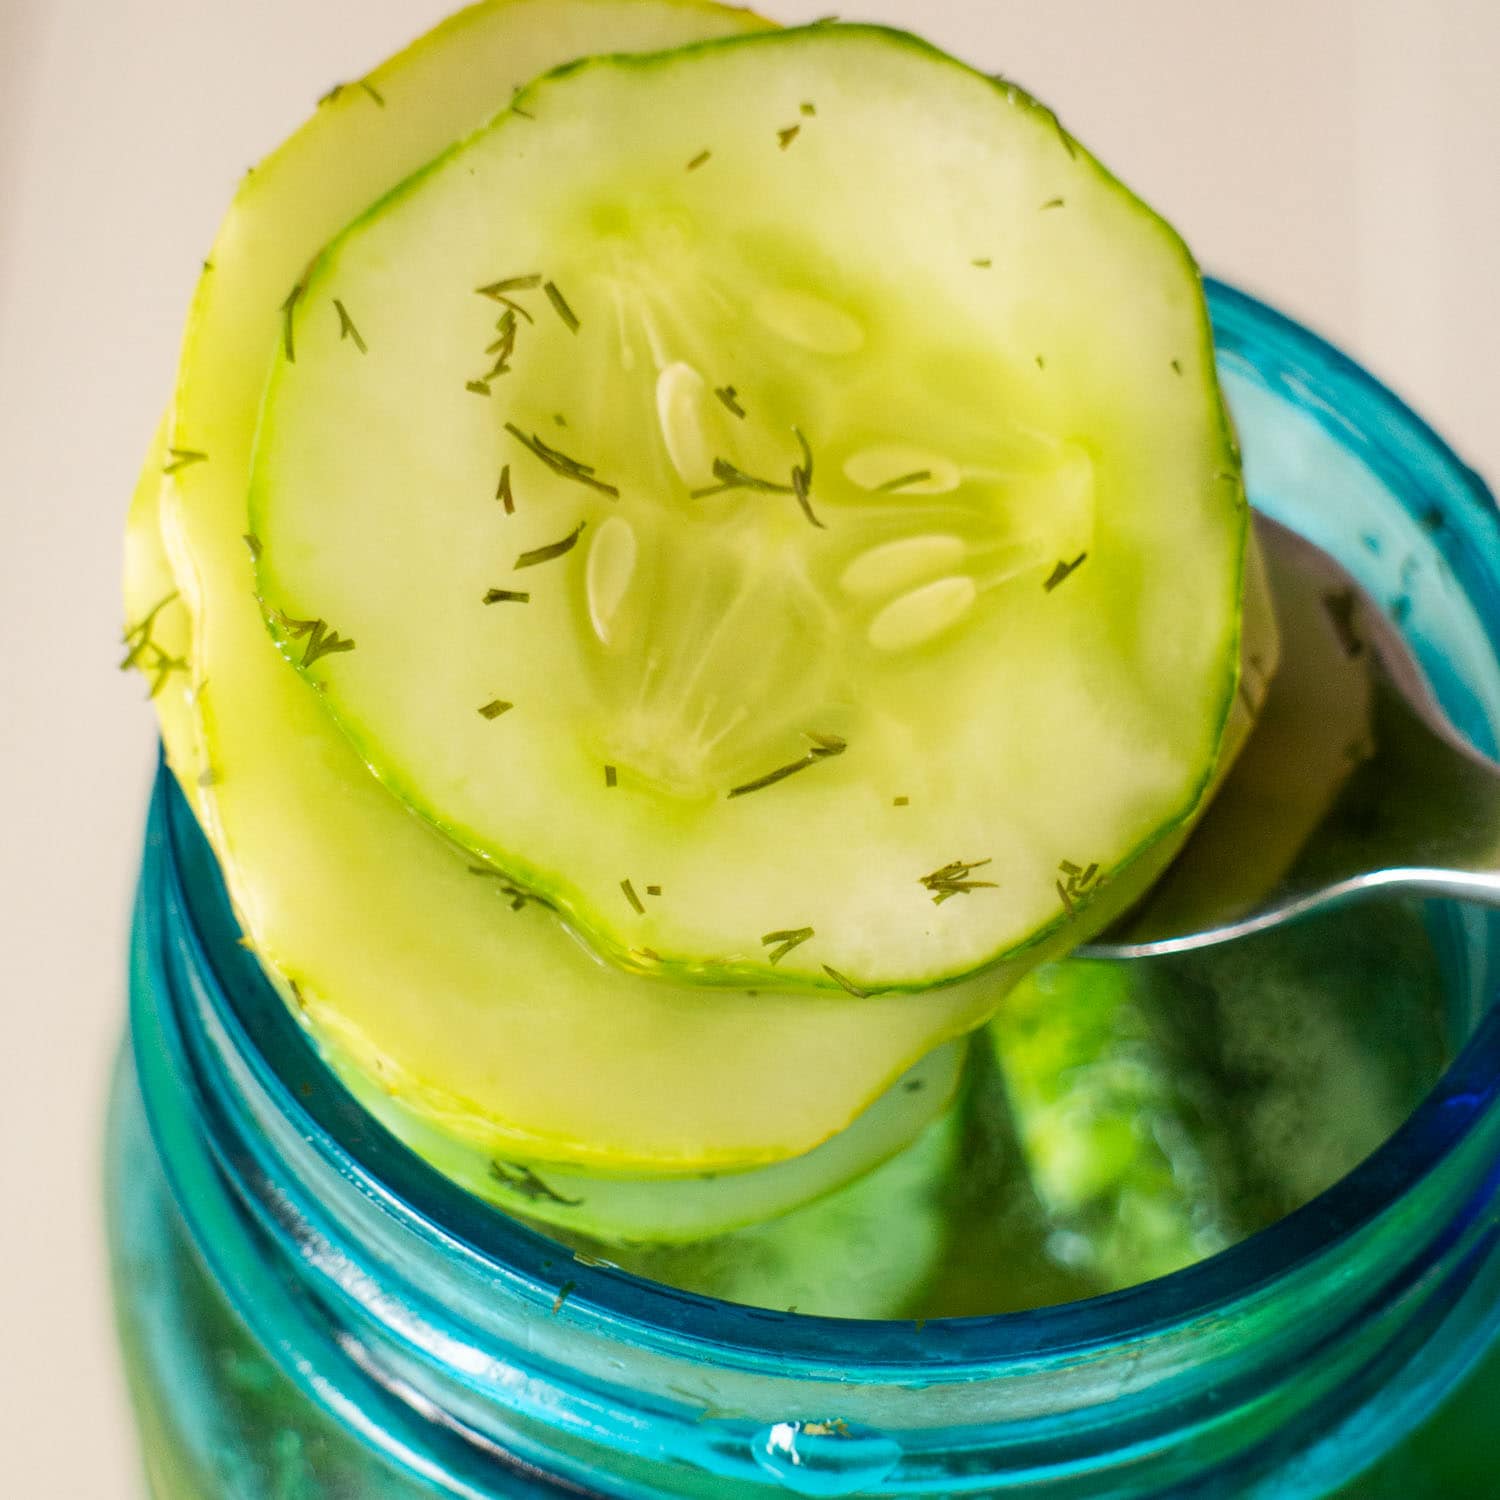
For the ultimate crispness, you absolutely want to seek out cucumbers specifically bred for pickling. These varieties are typically smaller, firmer, possess thinner skins, and contain fewer, smaller seeds compared to their salad-destined cousins. Their structural integrity holds up beautifully under the pickling process, preventing them from becoming mushy. Avoid larger, thick-skinned varieties like English (hothouse) cucumbers or standard slicing cucumbers, as their high water content and larger seed cavities make them prone to softening.
Top Varieties for Crispy Pickles
When you're at the farmer's market or grocery store, keep an eye out for these champions of crispness:
- Kirby Cucumbers: Often considered the gold standard for pickling, Kirbys are small, firm, and have characteristic bumpy skin. Their thin skin and dense flesh yield an outstandingly crisp pickle.
- National Pickling Cucumbers: Another fantastic option, these are generally blockier than Kirbys and offer excellent crunch and flavor absorption.
- Boston Pickling Cucumbers: A beloved heirloom variety, Bostons are known for their consistent size, firm texture, and classic dill pickle flavor profile.
The Freshness Factor: What to Look For
Regardless of the variety, freshness is paramount. The sooner you pickle a cucumber after it's picked, the crisper your results will be. Aim to pickle within 24 hours of harvest if possible. When selecting cucumbers, look for:
- Firmness: They should be firm to the touch all over, with no soft spots, wrinkles, or blemishes.
- Vibrant Color: A rich green color indicates freshness.
- Size: Generally, smaller cucumbers (4-6 inches) are preferred for uniform slicing and better texture.
If you can't pickle immediately, store them in the refrigerator, but understand that every day diminishes their potential crispness slightly. For an even deeper dive into maintaining that perfect texture, you might be interested in Unlock Crispy Perfection: The Secret Ingredients for Homemade Hamburger Dill Pickles.
Crafting the Flavorful Brine: The Heart of Your Pickle
The brine is where the magic truly happens, transforming humble cucumbers into zesty, aromatic hamburger dill pickles. The balance of acidity, saltiness, and aromatics dictates the final flavor profile. Precision here is key for both taste and food safety.
Essential Brine Components
A basic, yet potent, brine relies on a few core ingredients:
- Water: Always use filtered or distilled water. Tap water, especially if it's hard or chlorinated, can introduce off-flavors or cloud your brine.
- Vinegar: White distilled vinegar (5% acidity) is the most common choice due to its neutral flavor, allowing the dill and garlic to shine. For a slightly sweeter, more complex pickle with a hint of fruitiness, you can experiment with apple cider vinegar, also at 5% acidity. Ensure your vinegar is at least 5% acidity for proper preservation.
- Salt: This is critical for flavor and acting as a preservative. Use pickling salt (canning salt) or pure kosher salt. Avoid table salt, which often contains iodine and anti-caking agents that can darken your pickles and make the brine cloudy.
- Sugar: A small amount of granulated sugar isn't just for sweetness; it balances the sharp acidity of the vinegar, rounds out the flavors, and can contribute to a more pleasant mouthfeel without making the pickles overtly sweet.
The Spice Symphony: Customizing Your Dill Pickles
This is where you can truly personalize your hamburger dill pickles. The classic dill pickle flavor comes from a combination of robust spices:
- Dill Seeds: The primary flavor component, providing that unmistakable dill aroma and taste. You can also add fresh dill sprigs to the jars for an extra herbaceous punch.
- Garlic Cloves: Fresh garlic, peeled and crushed or thinly sliced, infuses the brine with its pungent, savory notes.
- Black Peppercorns: These add a subtle warmth and a gentle bite.
- Mustard Seeds: Both yellow and brown mustard seeds contribute a distinct, slightly pungent, and tangy flavor that is characteristic of many great dill pickles.
- Red Pepper Flakes (Optional): For those who like a little kick, a pinch of red pepper flakes can add a welcome touch of heat.
Beyond these, consider experimenting with coriander seeds for a citrusy note, bay leaves for an earthy depth, or even a tiny piece of horseradish root for extra zing and crispness.
Our Go-To Brine Recipe for Crispy Hamburger Dill Pickles
This recipe provides a perfectly balanced base for your homemade pickles, yielding approximately 4-5 pint jars, depending on how tightly you pack your cucumbers:
- 4 cups filtered water
- 4 cups white distilled vinegar (5% acidity)
- 1/4 cup pickling salt
- 1/4 cup granulated sugar
- 2 tablespoons dill seeds (or 1 tbsp dill seeds + 2 fresh dill heads/sprigs per jar)
- 4-6 cloves garlic, peeled and gently crushed (or sliced)
- 1 tablespoon black peppercorns
- 1 tablespoon yellow mustard seeds
- 1/2 teaspoon red pepper flakes (optional, for heat)
Combine all brine ingredients in a large, non-reactive saucepan. Bring the mixture to a rolling boil over medium-high heat, stirring occasionally until the salt and sugar are completely dissolved. Once boiling, reduce the heat and simmer gently for 5-7 minutes. This simmering period is crucial for allowing the spices to infuse deeply into the brine, ensuring a more robust flavor in your finished pickles.
Step-by-Step Pickle Perfection: From Prep to Jar
With your cucumbers chosen and your brine simmering, it’s time to bring everything together. Cleanliness and proper preparation are essential for delicious, safe pickles.
Preparing Your Cucumbers
- Wash Thoroughly: Scrub your cucumbers gently under cold running water to remove any dirt or residue.
- Trim Ends: Slice off about 1/16th of an inch from both the blossom and stem ends of each cucumber. The blossom end contains enzymes that can soften pickles, so removing it is crucial for crispness.
- Slice for Burgers: For hamburger dill pickles, uniform slices are best. You can use a mandoline for perfectly even rounds (about 1/4 inch thick) or a sharp knife. For a crinkle-cut texture, a crinkle cutter works wonders and adds visual appeal.
- Optional Ice Bath: For an extra crisp boost, place the sliced cucumbers in a large bowl with ice water for 30-60 minutes. This firms up their flesh before pickling.
Assembling Your Jars
Before you begin, ensure your canning jars, lids, and bands are clean and sterilized. You can run them through a dishwasher on a sanitize cycle or wash them in hot soapy water and rinse thoroughly. For extra peace of mind, especially if planning for longer-term storage, simmer jars in hot water (not boiling) for 10 minutes and keep them hot until filling.
In each hot, sterilized pint jar, add your desired fresh aromatics:
- 1-2 fresh dill sprigs (if using, in addition to dill seeds in brine)
- 1-2 fresh garlic cloves, peeled
- (Optional) A small piece of grape leaf or oak leaf (contains tannins which aid crispness)
Now, tightly pack your sliced cucumbers into the jars. The tighter you pack them without bruising, the less space there is for air, and the more pickles you get per jar! Leave about 1/2 inch of headspace from the rim of the jar.
The Brining Process
Once your jars are packed, carefully ladle the hot, flavorful brine over the cucumbers, ensuring they are completely submerged. Maintain the 1/2 inch headspace. Use a non-metallic utensil (like a chopstick or plastic knife) to gently dislodge any trapped air bubbles by running it around the inside of the jar.
Wipe the rims of the jars clean with a damp cloth, center the lids, and screw on the bands until fingertip tight. If you plan to simply refrigerate your pickles, they will be ready to eat in about 2-3 days but will develop more flavor over a week or two. Store them in the refrigerator for up to 2-3 months.
For long-term, shelf-stable storage (canning), process pint jars in a boiling water canner for 10-15 minutes (adjusting for altitude). Always consult reliable canning guidelines for precise processing times and safety procedures.
Achieving That Irresistible Crunch and Flavor Depth
While the right cucumber and brine are crucial, a few extra tips can elevate your hamburger dill pickles from good to legendary.
- The Waiting Game: Patience is a virtue in pickling. While you can technically taste a pickle after a few days, the flavors truly meld and deepen after at least 1-2 weeks, and often improve further over a month. Resist the urge to open them too soon!
- Crispness Enhancers: Beyond removing blossom ends and using an ice bath, consider adding a pinch of calcium chloride (often sold as "pickle crisp") to each jar. A clean grape leaf or oak leaf added to each jar also provides natural tannins that help maintain crunch.
- Cold Storage is Key: Once opened, always store your pickles in the refrigerator. The cold environment not only preserves them but also keeps them wonderfully crisp.
- Troubleshooting Soft Pickles: If your pickles turn out soft, the culprits are usually old cucumbers, not trimming the blossom end, or using non-pickling cucumbers. Over-processing in a canner can also contribute to softness.
Conclusion
Crafting your own hamburger dill pickles is a rewarding culinary adventure that yields a superior product far beyond anything you'll find in a jar at the supermarket. From carefully selecting the crispest pickling cucumbers to infusing your homemade brine with a symphony of fresh spices, every step contributes to a pickle that's bursting with vibrant flavor and that satisfying, much-desired crunch. So, gather your ingredients, follow these simple steps, and prepare to elevate your burgers, sandwiches, and snack plates to an entirely new level with your very own, perfect homemade dill pickles.
